Every Transaction Manager user who wants to perform integration work must install the Integration Service locally.
To download and install the Integration Service:
Log in to the terminal server as the Local Administrator.
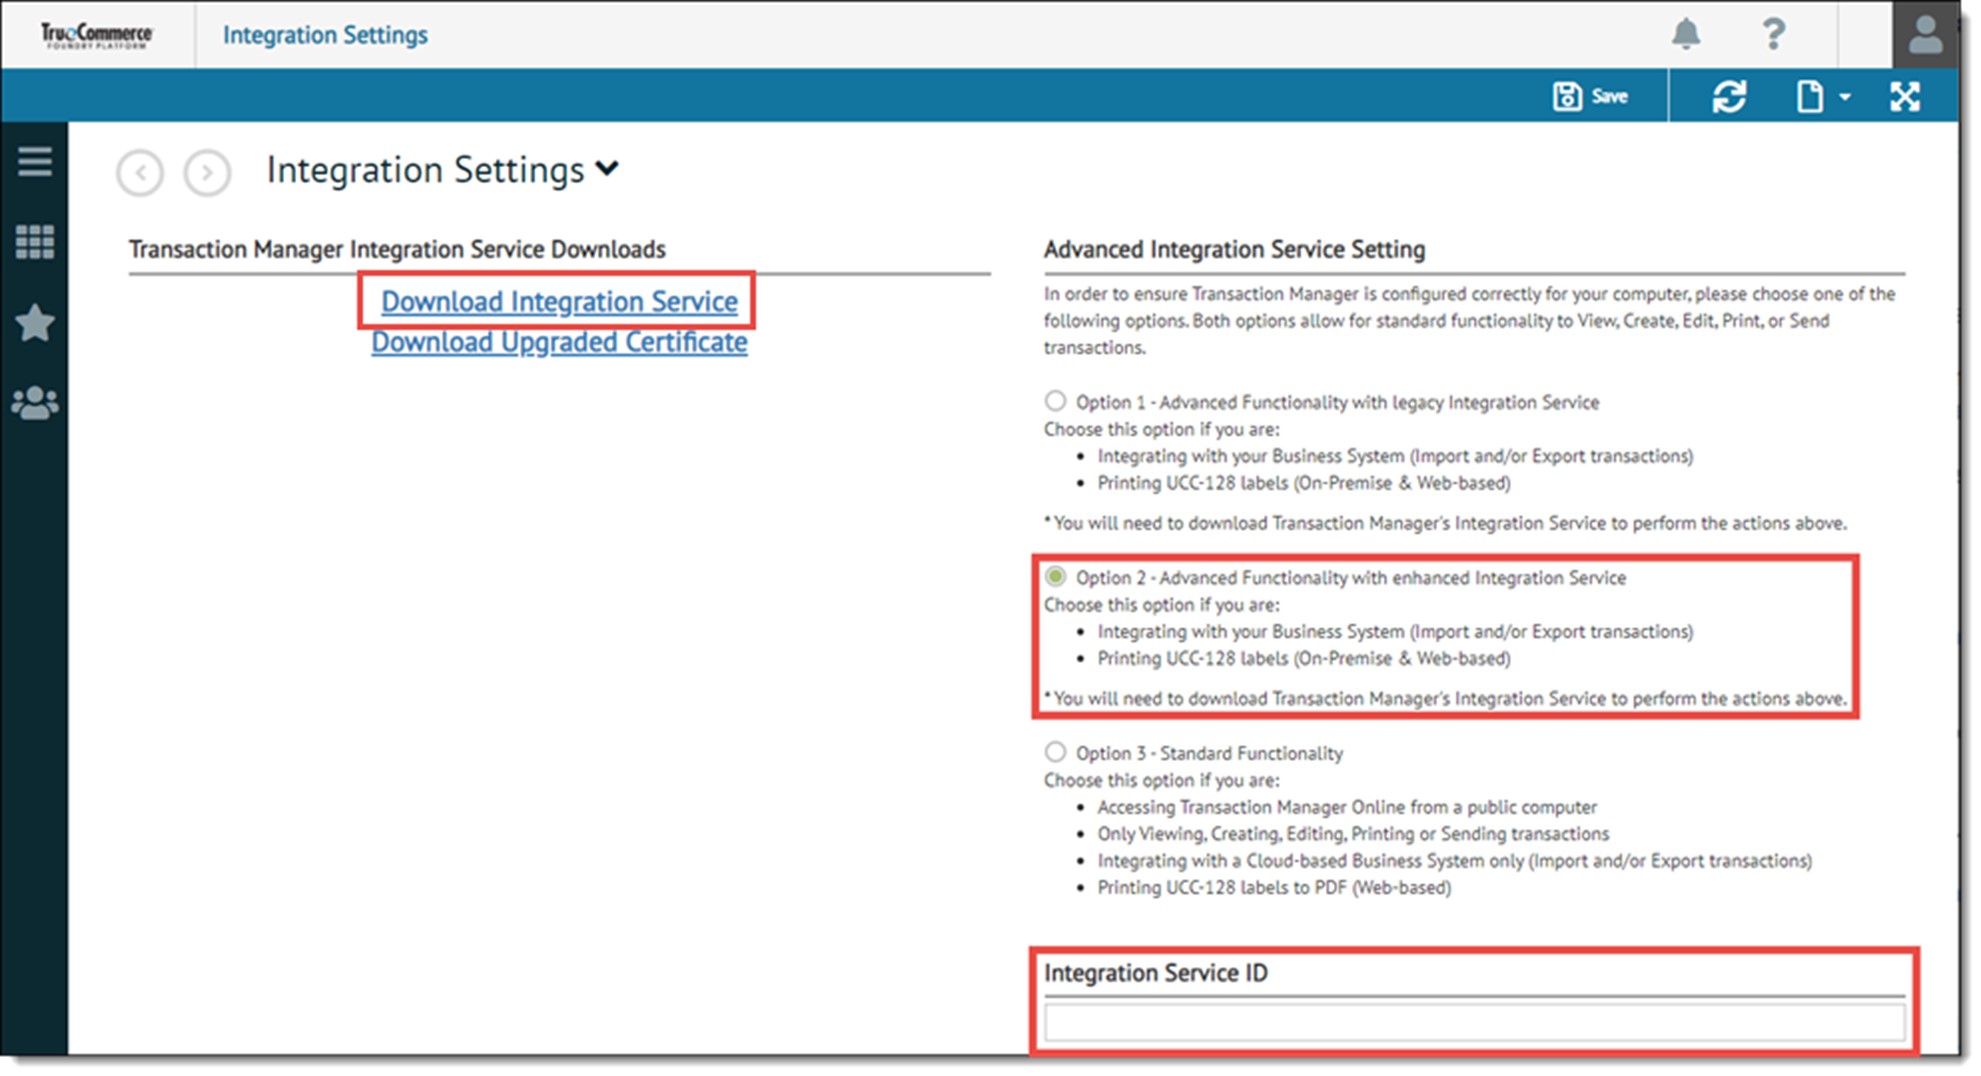
In Transaction Manager, open the Integration Settings view from the navigation menu.
Select from the Advanced Integration Service Settings radio button options, then click Download Integration Service.
Note
If Option 2 is selected, TMOIntegrationServicesV2 will display in File Explorer.
If the user has one terminal server or if they do not want to install the integration service on several different clients, the integration service can be installed just once (for example, on a Sage 100 server but nowhere else), and a unique identifier will be associated to that server to make it a cloud integration.
Integration Service V2
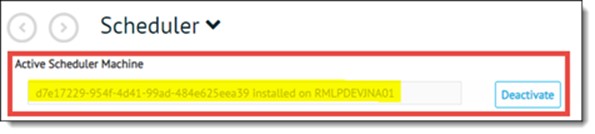
The Active Scheduler Machine field should show both the Global Unique Identification Number (GUID) of the integration service and the machine on which it is installed on the Transaction Manager | Administration | Scheduler page (and the Scheduled Event Edit page, accessed by editing a specific event).
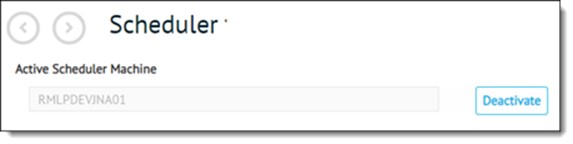
For the previous Integration Service, the Active Scheduler Machine field will only show the Windows computer name.
Logic is included for determining whether to add or remove the customer's record from the ttcCloudCustProfile, depending on the integration service version (for local and hybrid BSPs), or Cloud only customer (cloud only BSP).
The Active Scheduler Machine must be set to at least 1 Active Cloud Scheduled Event.
Integration Service V2 and beyond
For Integration Service V2 and beyond, the Active Scheduler Machine must be set to at least 1 Active Cloud or local Scheduled Event and the Advanced Integration Service Setting must be set to Option 2 with the correct GUID.
Following are the ordered steps in which to configure Scheduler for Integration Service V2 (and later versions):
1. Install Integration Service V2.
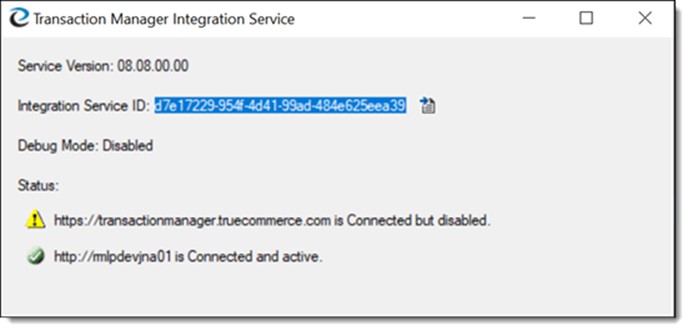
2. Once it is running, right-click on the TrueCommerce icon within the system tray, then select about.

3. Copy the Integration Service ID by clicking the paper icon to the right of the Integration Service ID.
4. Log in to Transaction Manager and navigate to the Integration Settings page.
5. Select Option 2, then paste the Integration Service ID into the Integration Service ID field.
6. Click Save.
7. Navigate to Transaction Manager | Scheduler, then click Activate.
8. Once configured, it will look like the screen capture, immediately below: *Integration Service ID* installed on *Windows COmputer Name*.
The only other instance where the integration service will need to be installed is if a customer is utilizing an on-premise labeling utility, where the Integration Service will need to be installed on that machine.
Save the file locally to the machine and right-click to run as administrator.
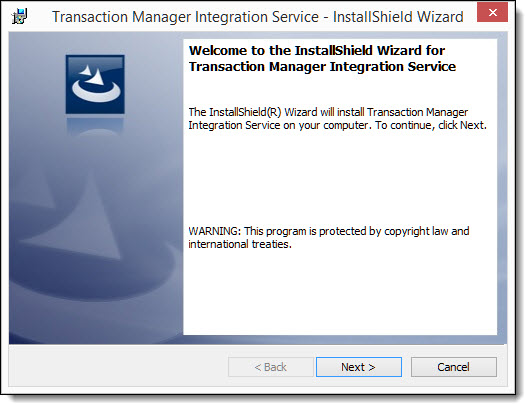
Select Next in the Transaction Manager Integration Service - InstallShield Wizard pop-up window to begin the installation.
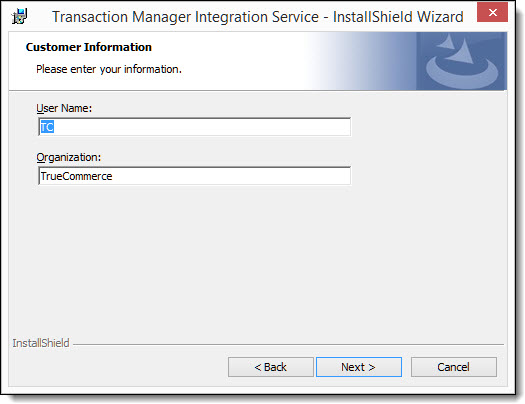
Enter a User Name and Organization, then click Next.
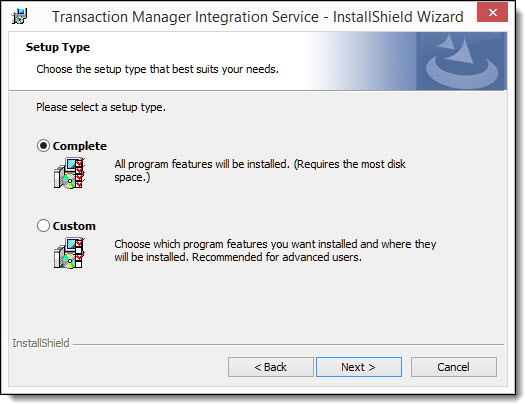
Select the Complete setup type radio button, then click Next.
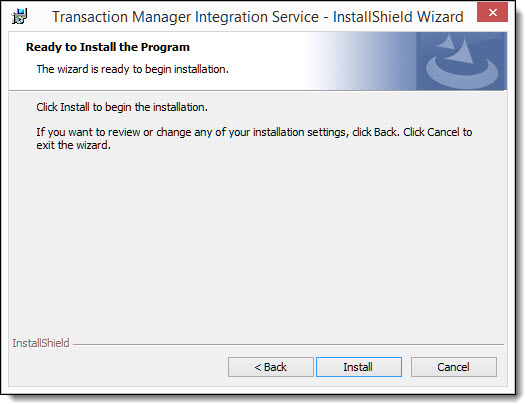
Click the Install button once the Integration Service is ready to install.
If necessary, Click Yes to allow the program to install.

A progress bar displays to notify the status of the Integration Service installation.
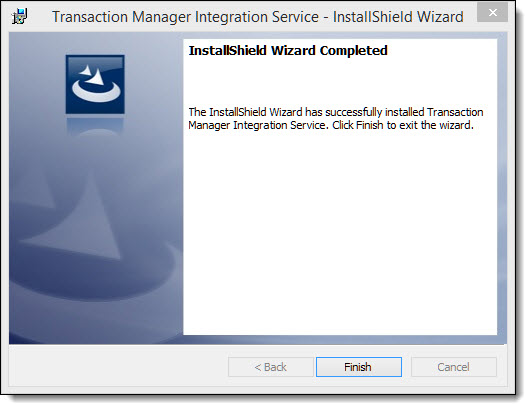
Click Finish to complete the install of Transaction Manager Integration Service.
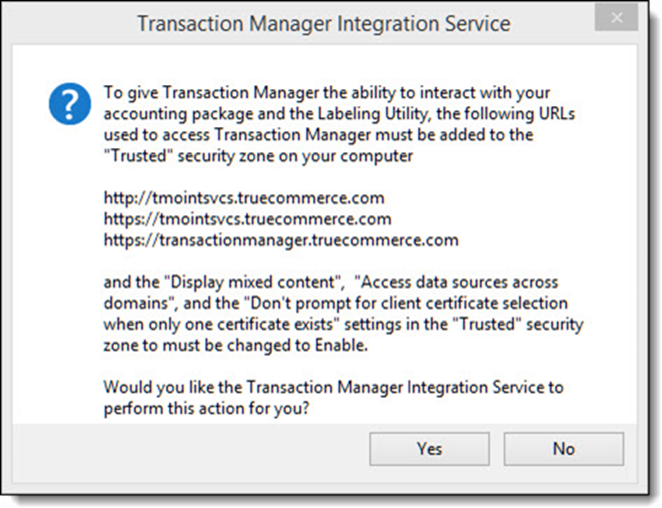
When prompted by the pop-up, click Yes to allow the Transaction Manager Integration Service to add the URLs to the "Trusted" security zone on your computer.
Note
Group Policies that are set up on the server may need to have these sites added manually. In addition, each user that logs into the terminal server (if configured to RunOnLogin) will set this dialog box as well.
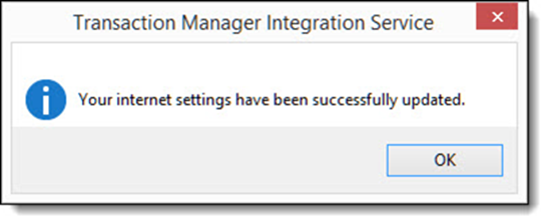
Select OK to acknowledge that the settings have been changed.